


Docker containers are used to provide a lightweight and more portable alternative to virtual machines. Unlike virtual machines, which must bundle a complete operating system, containers typically encapsulate only an application, its runtime, and its dependent libraries. Docker is an open-source toolkit that allows you to build, deploy, and manage containers with ease.
A container may be defined as a unit of software that comprises the code and the necessary dependencies that enable an application to be executed inside its own environment. Thus containers are isolated from one another, but they share the same host operating system. That host operating system—be it Windows or Linux—must have the Docker runtime installed.
This article presents a discussion on how we can deploy an ASP.Net Core application in a Docker container. Note that we will be using Docker on Windows here. Note too that unlike with virtual machines, you can’t run Windows and Linux containers on the same host. All containers must be native to the host operating system.
Install Docker for Windows
To build and deploy an ASP.Net Core application in Docker, you need Visual Studio 2017 and Docker for Windows installed in your system. While Visual Studio 2017 will be used for building the application, Docker for Windows will be used to package and deploy the application in a Docker container. If you don’t have Visual Studio 2017 installed, you can download Visual Studio 2017 here. You can download Docker for Windows here.
You can test the installation of Docker using the following command. When executed, this command will display the version of Docker installed.
docker --version
Create an ASP.Net Core application in Visual Studio
Next we will create the ASP.Net Core application we will deploy in Docker on Windows. Note that this post assumes that Visual Studio 2017 is already installed in your system. Follow the steps below to create a new ASP.Net Core project in Visual Studio 2017.
- Launch the Visual Studio 2017 IDE.
- Click File > New > Project.
- Select the “ASP.Net Core Web Application” project template.
- Specify the name and location for your project.
- Click OK.
- In the “New ASP.Net Core Web Application” dialog window, select .Net Core.
- Select ASP.Net Core 2.1 (assuming .Net Core 2.1 is installed in your system) from the two drop-down lists.
- Select “Web API” as the project template.
- Check the “Enable Docker Support” check box as we will be deploying our application using Docker.
- Ensure that the message “No Authentication” is displayed—we won’t be needing authentication in this example.
- Click OK.
 IDG
IDG
Creating a new ASP.Net Core web application.
Edit your project’s Dockerfile in Visual Studio
This steps above will create a new ASP.Net Core application in Visual Studio. In addition, file named Dockerfile will be created for your project. You can see the Dockerfile in the Solution Explorer window. The contents of the Dockerfile will look like this:
FROM microsoft/aspnet:4.7.2-windowsservercore-1803
ARG source
WORKDIR /inetpub/wwwroot
COPY ${source:-obj/Docker/publish} .
Dockerfiles are build files used to describe how Docker container images will be created. Dockerfiles provide easy versioning and flexibility and they are easy to use. You will need to update the contents of the default Dockerfile generated by Visual Studio depending on the operating system is use, i.e., depending on whether you will be deploying the Docker container to a Windows or Linux host.
Deploy an ASP.Net Core application in Docker
First you will need to build the application in the Visual Studio IDE. Any simple web application will do. When you’re done, open a command window in administrator mode, type the following command at the command prompt, and press Enter.
docker build -t dockersample .
This command will build the application and create a Docker image. The following screen image illustrates the build process when viewed in the command window.
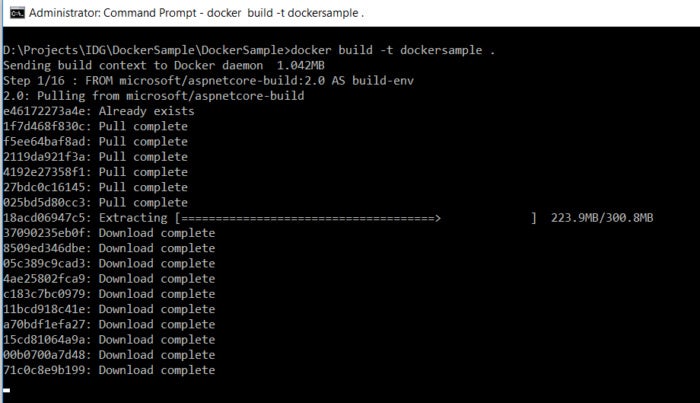 IDG
IDG
Building the Docker image.
To run the Docker image, you can use the following command (where myapp and dockersample are the names of your application and image, respectively).
docker run -d -p 8080:80 --name myapp dockersample
And that’s it! Your application has been deployed as a running Docker container. You can now invoke the Get method of the ValuesController (this is created by default by Visual Studio) in your web browser using this link, http://localhost:8080/api/values.
Some useful Docker commands
You can list all of your Docker images using the following command:
docker image ls
To list all of your running containers, you can use this command:
docker container ls –all
To stop a container, you can use this command:
docker stop containername
To remove a container from the system, you can use the command listed below. Note that you cannot remove a container that is running. If your container is running, you should stop it before removing it.
docker rm containername
Containers allow you to deploy applications in small, lightweight execution environments. Compared to virtual machines, containers are not only lightweight and more portable but extremely fast—they start almost instantly. Docker is a popular open source container technology that has brought containers into the mainstream. I will discuss Docker in more detail in upcoming posts here.